
Summer’s heat is on, and it’s a doozy!
I don’t like to cook much in the summer, as it just heats up the kitchen even more. However, my family LOVES rice for stir frys, fried rice and other dishes, especially in the summer as the garden gives us delicious veggies to use with it. I use instant rice as much as possible, but I still need to cook that from scratch and that heats up the kitchen. I found an easier way to make large batches of rice without all the heat! The WonderOven!
It looks like a huge bean bag, to be honest.
When I first got this, I wasn’t really sure about using it but it has since garnered a permanent spot in my kitchen. It’s simply amazing! It holds in the heat and keeps the food cooking, without burning, for hours! An easy way to get started is by making rice. So, here’s how to make rice in the WonderOven. You will need rice, water, salt, a pot with a lid, your WonderOven and a large plastic box with a lid for the WonderOven to set in, like a Rubbermaid Container.

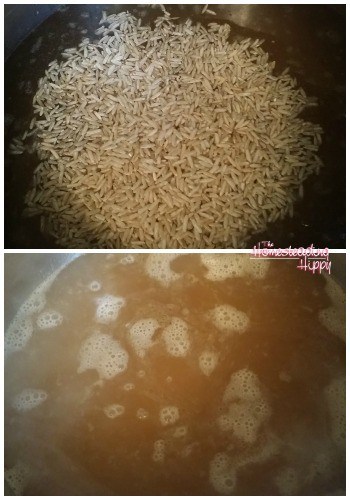
First, bring the measured amount of rice and water to a boil.
You want to add a bit of salt or other flavorings for your rice at this time. Sometimes, I will add some butter if it’s a wild rice I am cooking. Allow it to boil for 10-15 minutes.
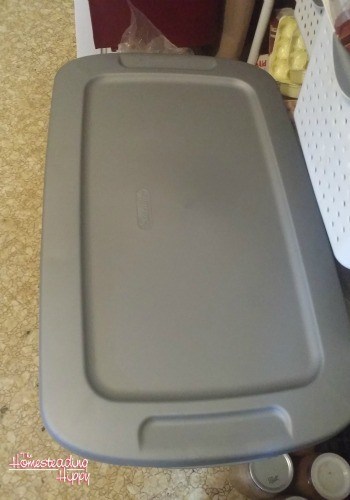
Next, place the bottom part of the WonderOven in the bottom of the box.
You will want to spread it around a bit to make room for your pot. The beads are easily manipulated into place and this part is kind of fun since it’s all squishy.
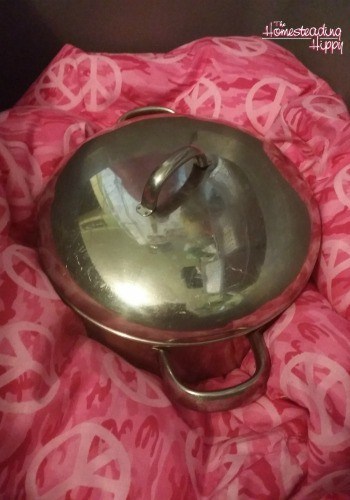
Place the lid on your pot of boiling water and rice.
CAREFULLY, place the pot in the center of the WonderOven. You will want to make sure it’s in the center as much as possible at this point. Cover with the top of the WonderOven, and place the plastic box top on tight.

Walk away for at least 40 minutes.
I have left this in for up to 12 hours before, and it was perfect! When you are ready, take off the plastic lid and remove the WonderOven top. It’s still going to be very hot, surprisingly, so use hot pads. Fluff your perfectly cooked rice with a fork and serve! Delicious! You can purchase a WonderOven here for your very own. Or, they also have something very similar to them here.


Original article and pictures take thehomesteadinghippy.com site
Комментариев нет:
Отправить комментарий