There are definitely seasons that lend themselves to “I’m booooored, Mom” kind of phases, like the hottest days of summer, and the coldest days of winter.
To help combat the dreaded kid boredom, I want to show you a very easy, very cheap way to keep your kids entertained and their imaginations soaring.
Today, we’re going to make a quick kiddie tent that shouldn’t cost you more than $15!

Here are the supplies you’ll need:
• (4) 1X2X4 whitewood boards
• (1) ½” X 48” dowel rod
• (2) 5/8” X 48” dowel rods
• twin flat sheet
Here’s how to put it together:
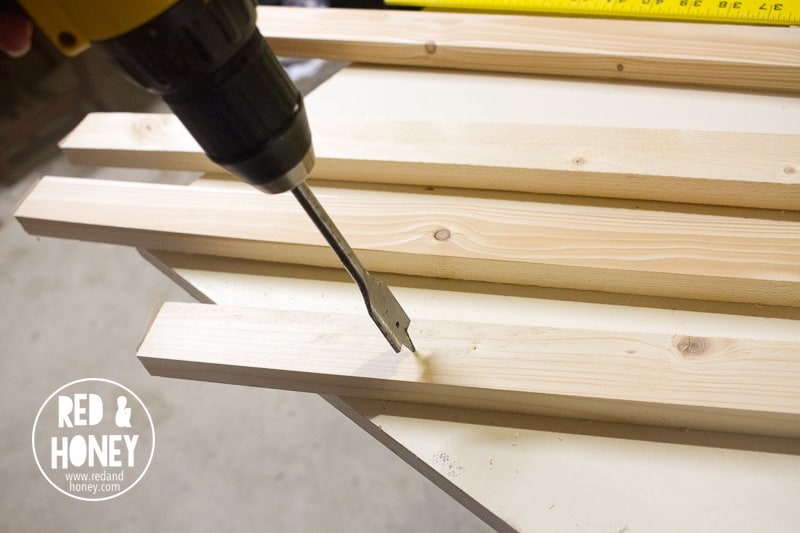
1. Measure 6” down from the end of each 1X2X4 board and, using a ½” spade bit, drill a 1/2” hole through one end of each whitewood board.
2. Measure 3” down from the opposite end of each 1X2X4 board and, using a 5/8” spade bit, drill a 5/8” hole through the end of each whitewood board.
3. Take two of the boards and slide one end of the ½” dowel rod through each ½” hole at the top of each board. Do the same thing with the remaining boards on the other end of the ½” dowel rod.
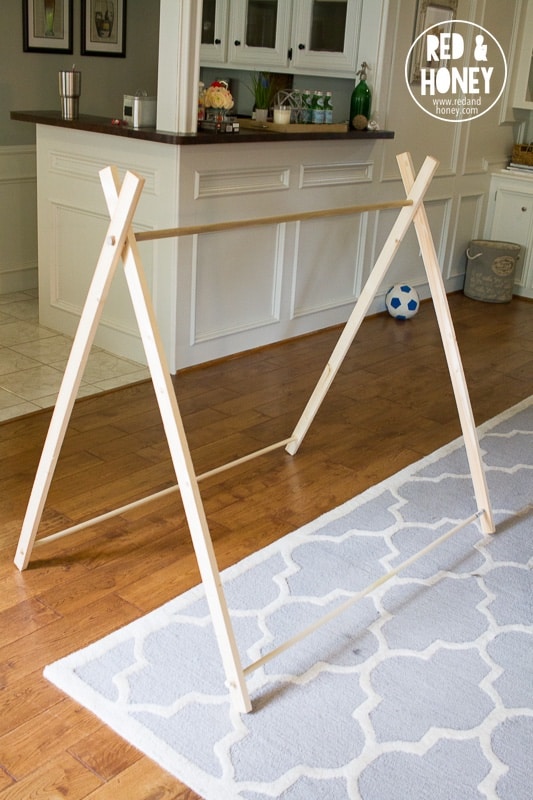
4. Now take your 5/8” dowel rods and insert each end into the holes at the bottom of the whitewood boards on each side of the tent structure.
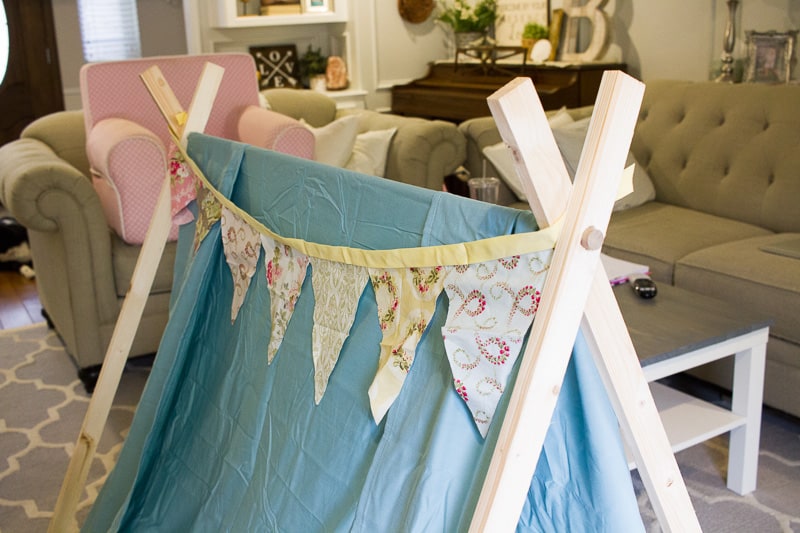
5. Here’s where you can get as fancy or as simple as you want. I chose the simple way: I took the twin sheet and I draped it over the dowel rod at the top of the tent. Then I just turned each end of the sheet under each of the dowel rods at the bottom of the tent and secured the sheet with several large safety pins.
If you’d like to get fancy, cut your sheet down to size (45X86) and sew a 1” hem on the long sides. Then sew a 1” hem on the short ends of the sheet, creating a “tunnel” for the small dowel rods to run through at the bottom of the tent. You’ll attach your “fancy” sheet by draping it across the top of the tent and then running your small dowels through the bottom edges of the sheet first before you insert them into the holes in the bottom of each whitewood board.
6. Finally, make a simple bunting (or have your kids make one with scrapbook paper and attach it to some yarn!) and string it across the sides of the tent! You’re finished!

Now your kids have an easy, sweet little fort to play in! This tent would be fun to put outside in the shade so the kids can play in the yard.
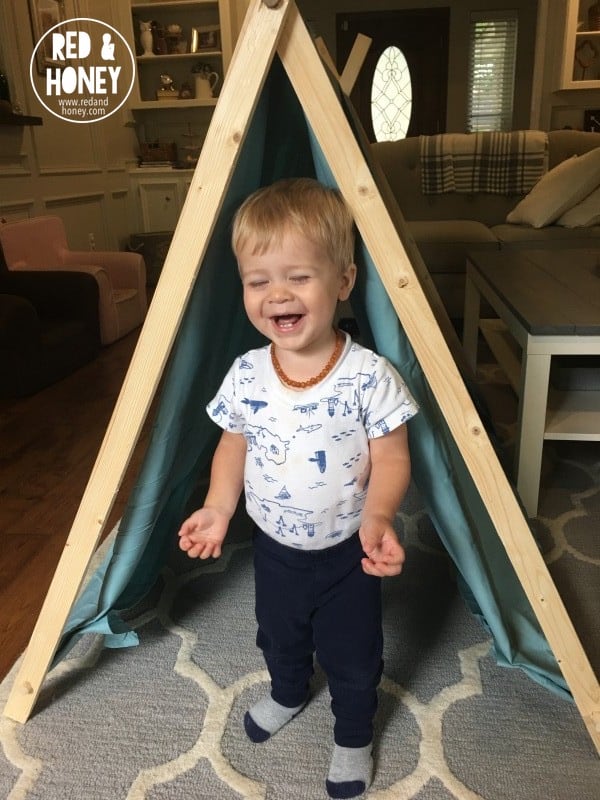
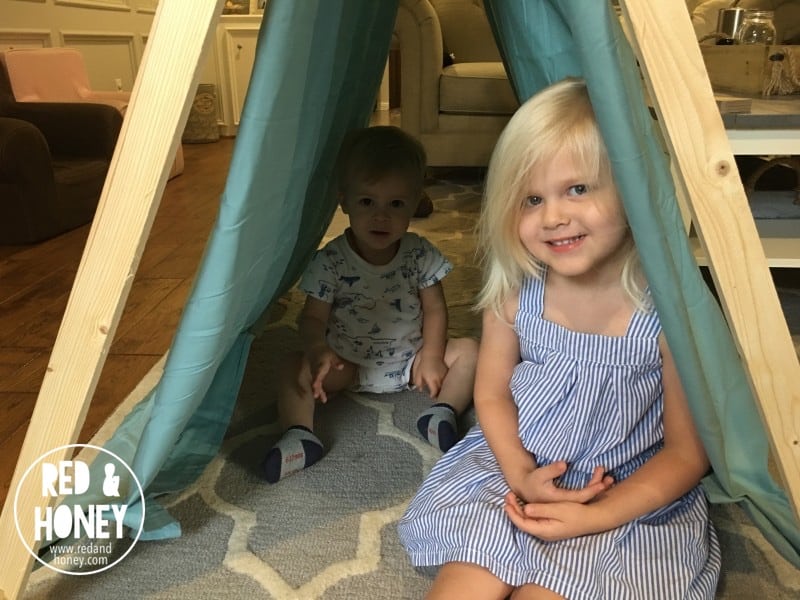
I had to set mine up in our living room because we’re getting torrential amounts of rain and our backyard is a swamp, complete with Texas-sized mosquitoes. Yuck. But, the kids don’t mind and they love to watch movies while lying in their new fort!
What’s great about this little tent is that it’s super simple to break down and store when the kids aren’t using it. And using a sheet as the tent fabric makes it easy to throw in the wash if it gets dirty. I call that a win for kids and for moms!
Happy tenting!
Original article and pictures take redandhoney.com site
Комментариев нет:
Отправить комментарий